Abalone shell (was: An easy "what is it")
Moderators: rjlittlefield, ChrisR, Chris S., Pau
- Charles Krebs
- Posts: 5865
- Joined: Tue Aug 01, 2006 8:02 pm
- Location: Issaquah, WA USA
- Contact:
Abalone shell (was: An easy "what is it")
I was going to label this as to the subject, but then wondered how obvious or obscure it is. So I'll post it as a "quiz" but expect a very quick correct ID.
Top two 50X, last three 20X.
Last edited by Charles Krebs on Fri Apr 06, 2018 10:35 pm, edited 1 time in total.
Very nice and interesting! IF this is what i think I have to spend the weekend looking closer at some insects that I have in the freezer.
Best regards
Jörgen Hellberg
Best regards
Jörgen Hellberg
Jörgen Hellberg, my webbsite www.hellberg.photo
- Charles Krebs
- Posts: 5865
- Joined: Tue Aug 01, 2006 8:02 pm
- Location: Issaquah, WA USA
- Contact:
- Charles Krebs
- Posts: 5865
- Joined: Tue Aug 01, 2006 8:02 pm
- Location: Issaquah, WA USA
- Contact:
- Charles Krebs
- Posts: 5865
- Joined: Tue Aug 01, 2006 8:02 pm
- Location: Issaquah, WA USA
- Contact:
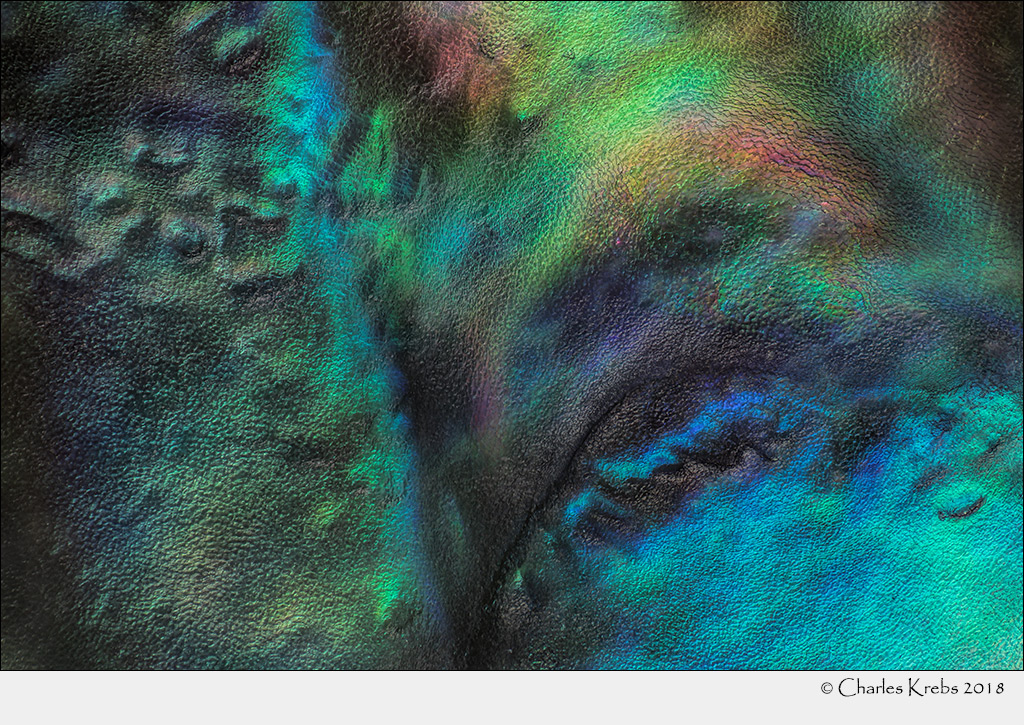
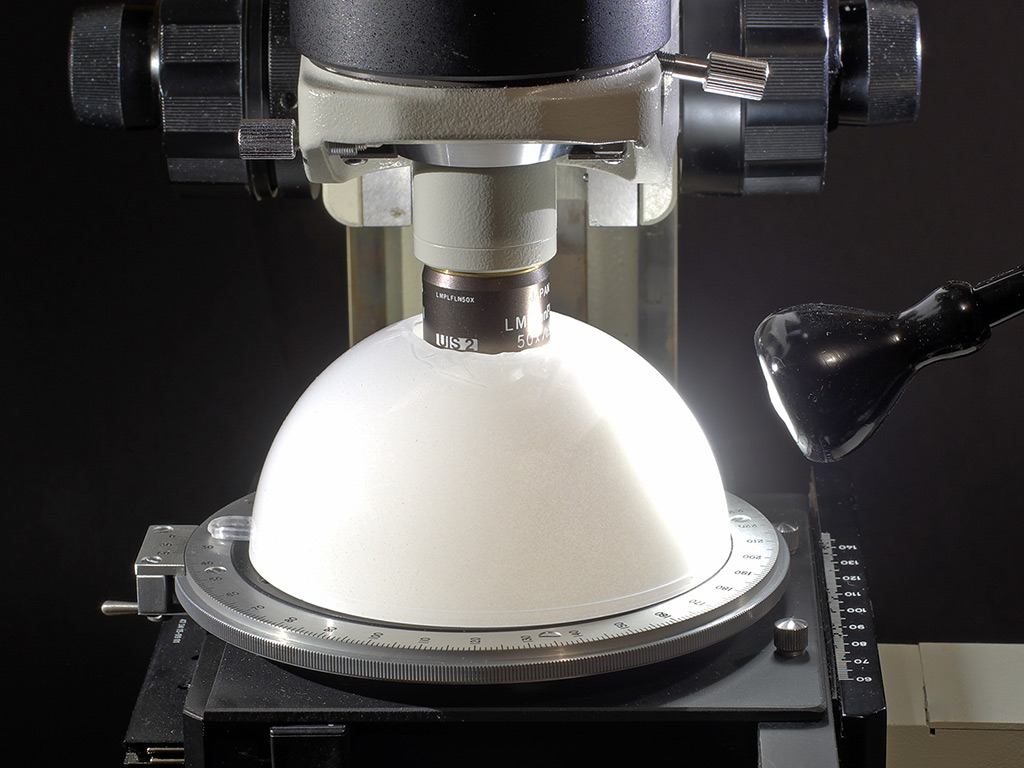
I used a white plastic dome with some LED lights I made (not the Ikea light seen in the picture. The Ikeas are great, but for me not enough light output when using a 50/0.50 objective when heavily diffused):Saul wrote:
Very nice photos ! Can you share technical details/technique ?
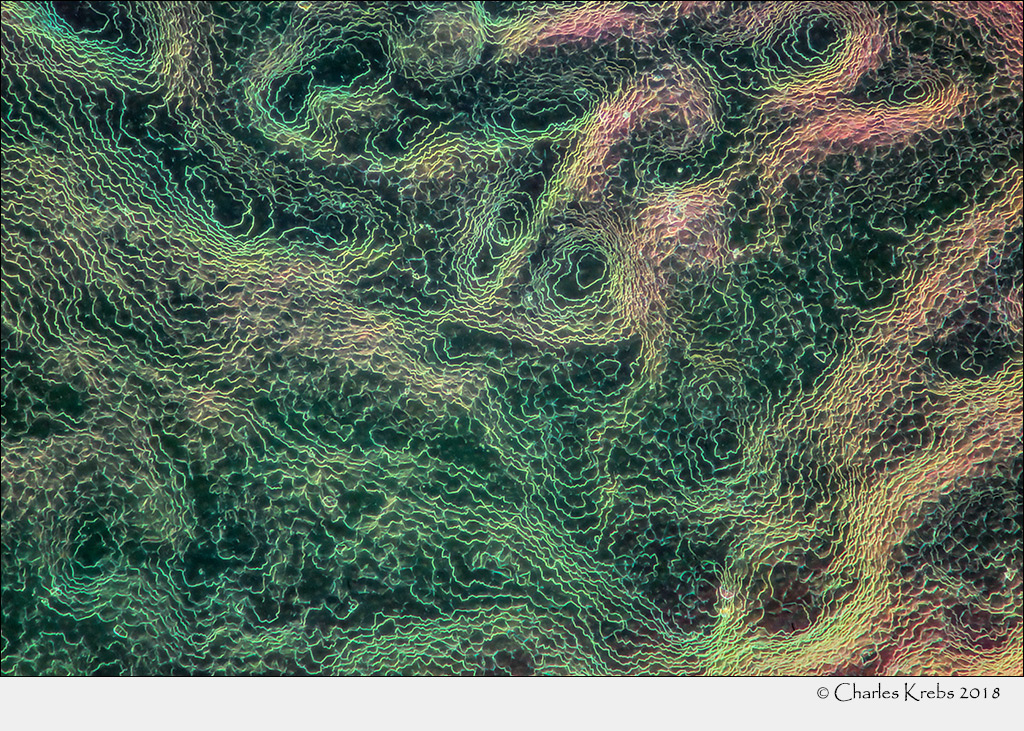
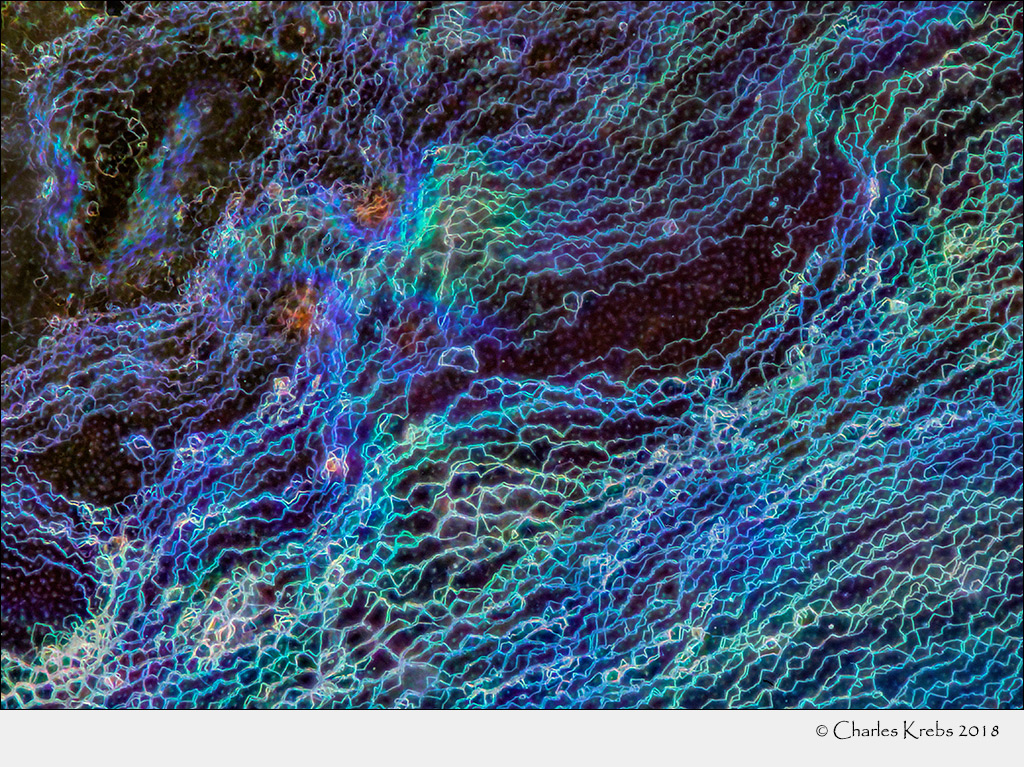
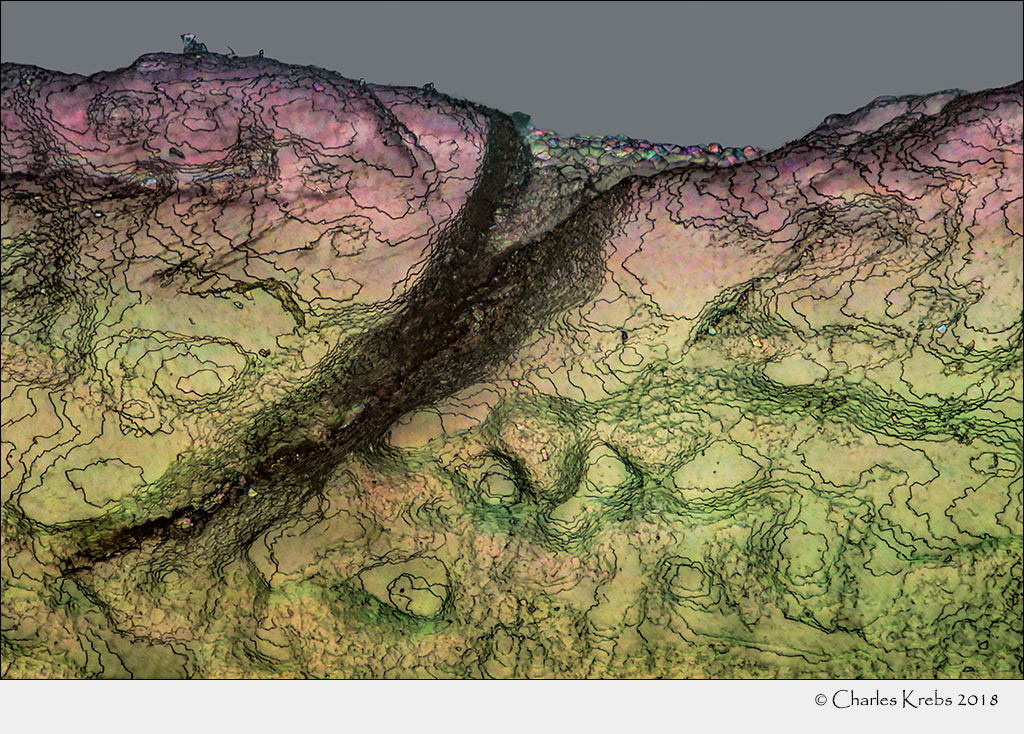
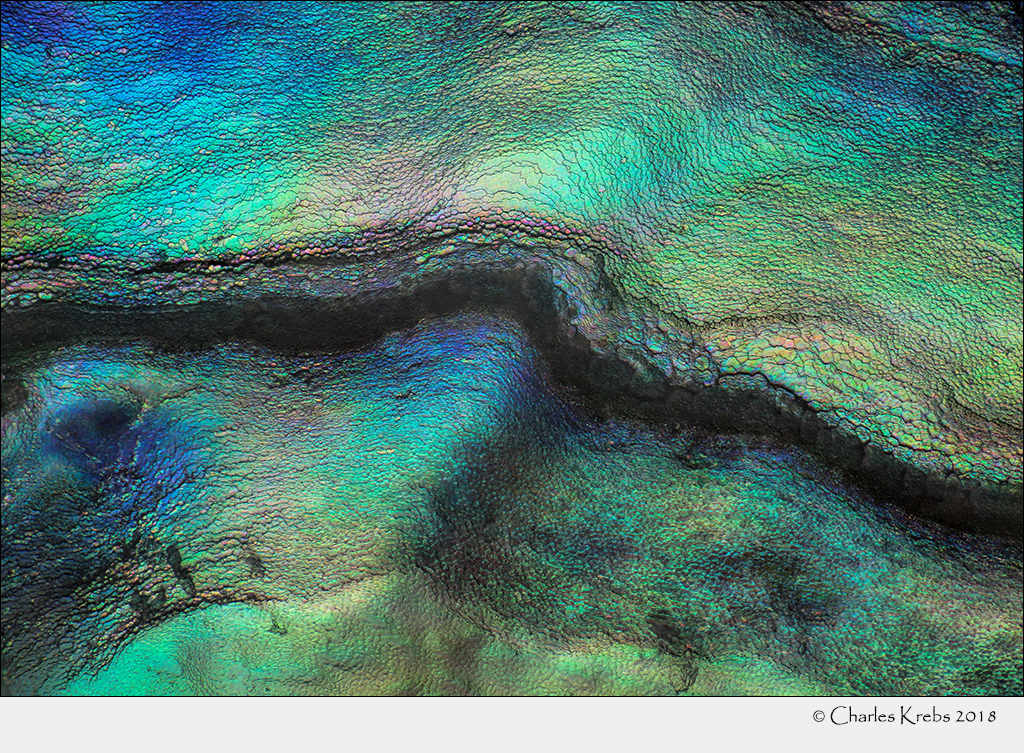
You need pretty good all around diffusion to get the iridescence to show. But I left the entire shell intact, so there large light areas just outside of the pictured areas that caused a bit too much flare. So it required some post-processing to tame that.
With a dome like this you can actually get decently directional light as was needed to bring out the contour lines. Don't blast the whole thing all around with broad light sources, but put a compact light source up close and at a low angle against the dome. Play around with the light locations and angles an you can get very different effects.
-
- Posts: 124
- Joined: Tue Nov 14, 2017 11:40 pm
- Location: India
- Charles Krebs
- Posts: 5865
- Joined: Tue Aug 01, 2006 8:02 pm
- Location: Issaquah, WA USA
- Contact:
Saul,
This particular dome was half of a clear plastic Christmas ball "ornament" purchased from Michaels (hobby arts and crafts). It come in two sections so people can fill it with their own decorations. Here I have very slightly spray painted the inside surface with a matte white paint. (Very light paint application, spray can held farther away than normally used. It appears much more "solid white" in this picture than it really is). This one does transmit more light than a whiffle ball, just depends on the paint job. These are cheap (but they don't carry them year round) so you can get a few and practice until you get it just right. Hardest part is cutting the hole without breaking it.
Pau,
Inside surface. I don't believe it was polished, but I did scrub it down with a toothbrush to clear out loose particles and other gunk.